Jenkins is a web-based continuous integration (CI) server that can build, test and deploy software automatically based on various triggers.
Once you have created your Spring Boot project and pushed your code to a git server, you can configure jenkins to build and deploy your project to your group's tomcat container.
The address of your group's own jenkins instance and the corresponding container to deploy to, along with the necessary credentials, are available to all group members on the keys page.
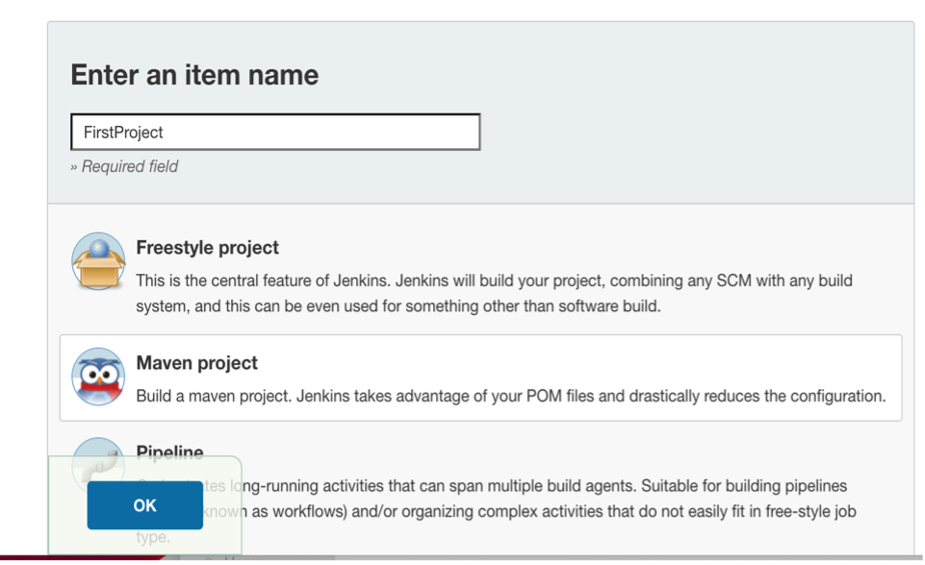
On the jenkins dashboard, click "New Item" in the upper left, enter a job name,
choose the project type "Maven project" and click "OK"
You are now looking at the project configuration page, where most of the configuration is done.
In order to save disk space, check "Discard old builds"

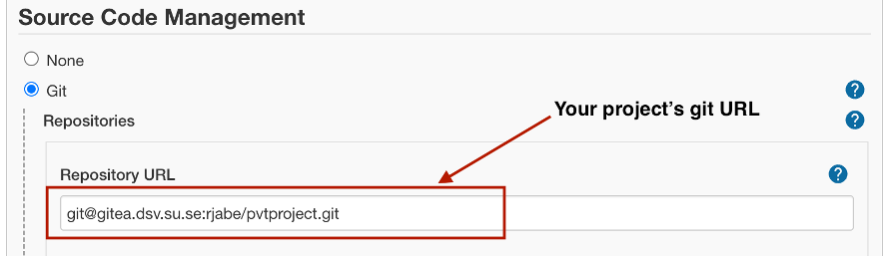
Under "Source code management", choose "git" and enter your project's git URL
under "Repository URL" (usually something like
git@gitea.dsv.su.se:[ausername]/[aprojectname].git). Make sure
you're using the SSH version of the git URL, otherwise you may run into a lot
of authentication issues.
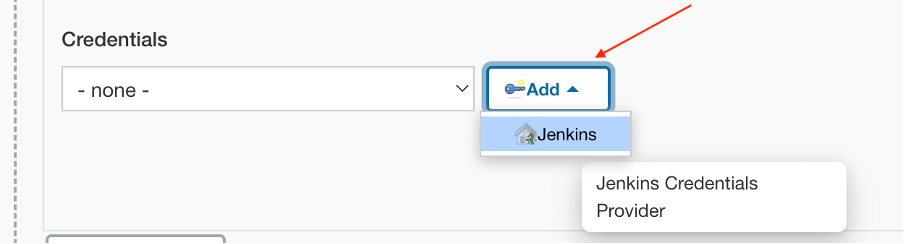
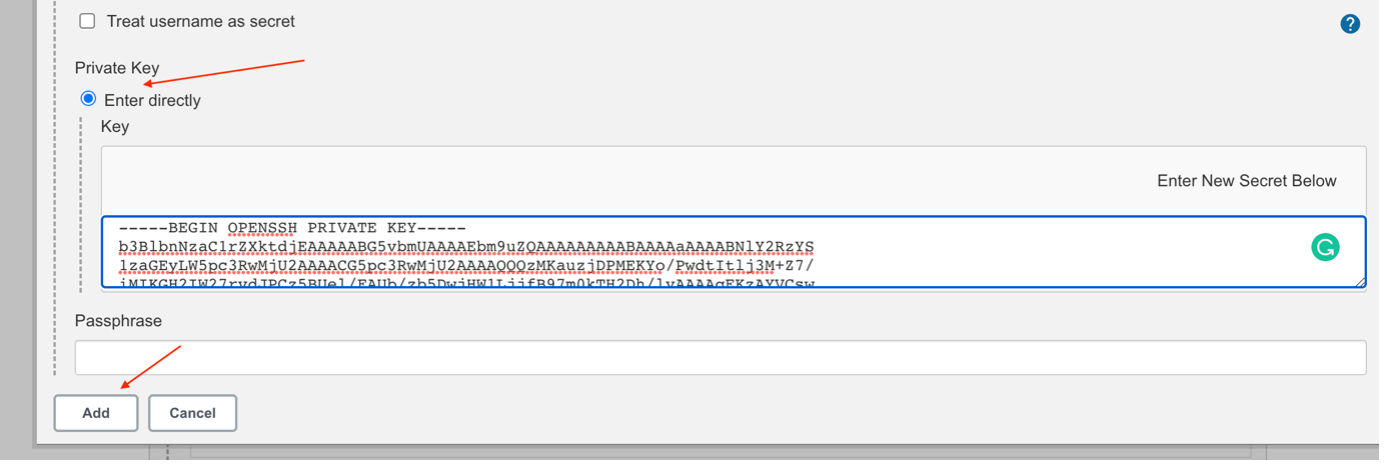
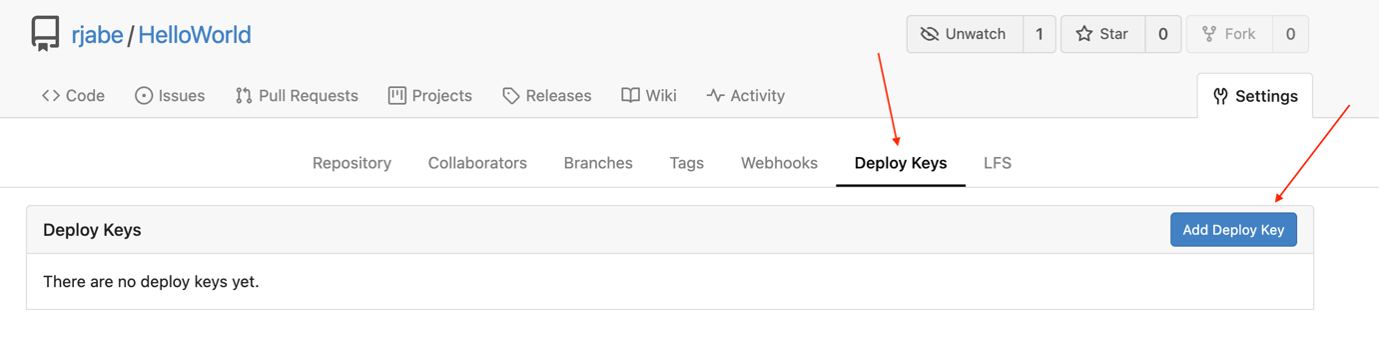
If your repo isn't public, jenkins will need to authenticate in order to pull the code.


If your pom.xml file isn't located in the project's root
directory, you need to change the default configuration in the field
"Root POM" under "Build".

At this point the build configuration should be complete enough to build
(but not yet deploy) your project. You may try to run your job - it should
finish successfully if your git and maven configurations are correct. The
job will not deploy anything yet though, it only compiles according to
your pom.xml.
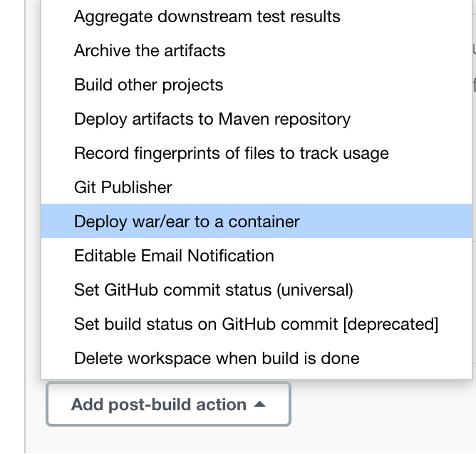
In order to actually deploy your compiled code, click "Add post-build
action" at the very bottom of the configuration page and choose
"Deploy war/ear to a container".
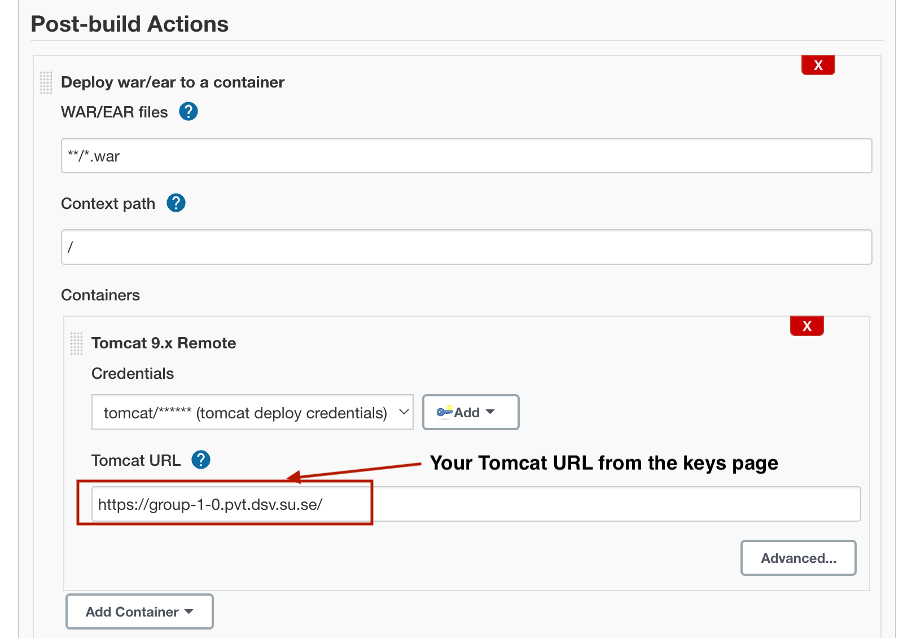
In the field "WAR/EAR files" you need to point to the war file you want to deploy. If your project only produces a single WAR file, you can use the shorthand "**/*.war" here. Otherwise, enter the path to your WAR file, relative to the project's root directory.
In the field "Context path" you should enter "/". You can also enter a
different path such as "/myproject", but deploying directly to the root
context is a good default behaviour.

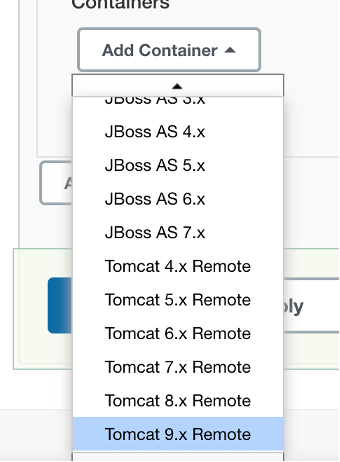
Click "Add Container" and choose "Tomcat 9.x Remote".
You will need to store credentials in a similar way to the git pull key:
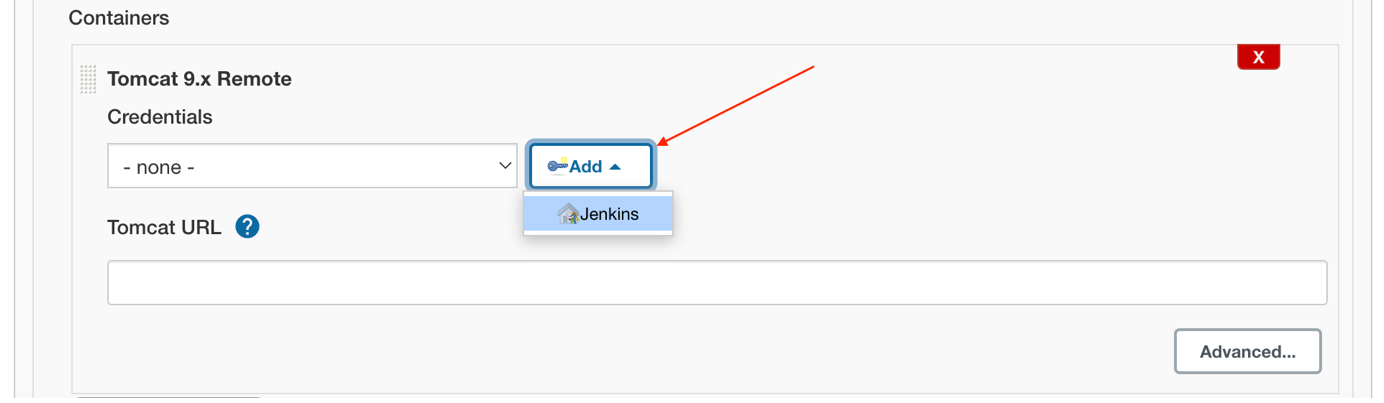

Under "Tomcat URL", enter the container URL listed on
the keys page.
Your job should now be fully set up. Given that everything is set up correctly and your code compiles and passes any tests you may have, your application should be running in your container once the job has finished.
Any failures will be indicated by the job status (it wil be shown as failed), and the log will contain details about what exactly went wrong.