AtomCraft Documentation in progress
1. Introduction
Welcome to AtomCraft! The education experience to understand what different atoms are made up of. Users will learn how to create a Hydrogen atom (easy task) and Lithium atom (difficult task). This experience educates user’s in all ages to either learn for the first time or repeat their knowledge of the Bohr atom structure and what atoms are made of. AtomCraft enables an exciting and educational way of engaging with physics!
2. Design Process
This project is part of the Design for Emerging Technologies Course at Stockholm University, aiming to create an educational experience using immersive technologies. The design process includes ideation of concept and interactions, testing of technologies, creation of Unity scene, user testing, iteration and demonstration.
2.1 Project Timeline:
Before starting the design process the AtomCraft team made sure the plan the timeline to manage deadlines for the project. Below you can find a visualization of the deadline of the project created in a Miro board. Additionally, the team followed a Kanban board to track and assign specific tasks.

2.2 Ideation of concept and interaction:
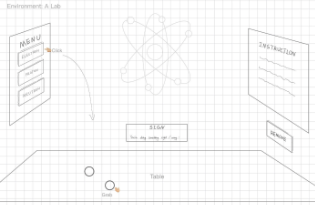
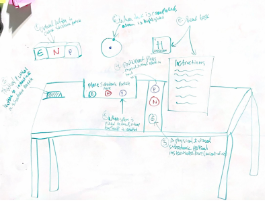
In order to come up with an immersive educational experience, the team members individually first came up with one idea of an experience each and then from a discussion we were able to continue building and combining our ideas into the experience AtomCraft. Through further brainstorm and ideation, the team developed the idea by drawing sketches which can be seen below.
2.3 Testing technologies:
In order to understand which technologies will enable our educational experience, the team members tried various technologies and tools to see which one works best for the different interactions.
2.3.1 Matching virtual and physical objects:
Since this experience uses virtual reality (VR) technology and tangible interactions, it will be using both virtual and physical objects. The experience includes objects that the user can interact with both in the virtual and physical world, and it is important that these objects are matched in their location, size and texture. The images below document the testing of matching the position of a physical table to a virtual table, and also matching the position and grab interaction to a physical and virtual sphere.
2.3.2 Sensors:
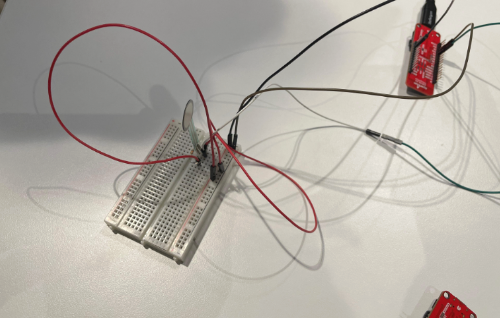
The experience includes sensors that can trigger a reaction in the experience. ESP installation using a light sensor was used to test how a button can be used. The light sensor was only used as a placeholder and instead there will be a button used. The button will be created to instantiate objects in the virtual environment.
2.3.4 3D Printing:
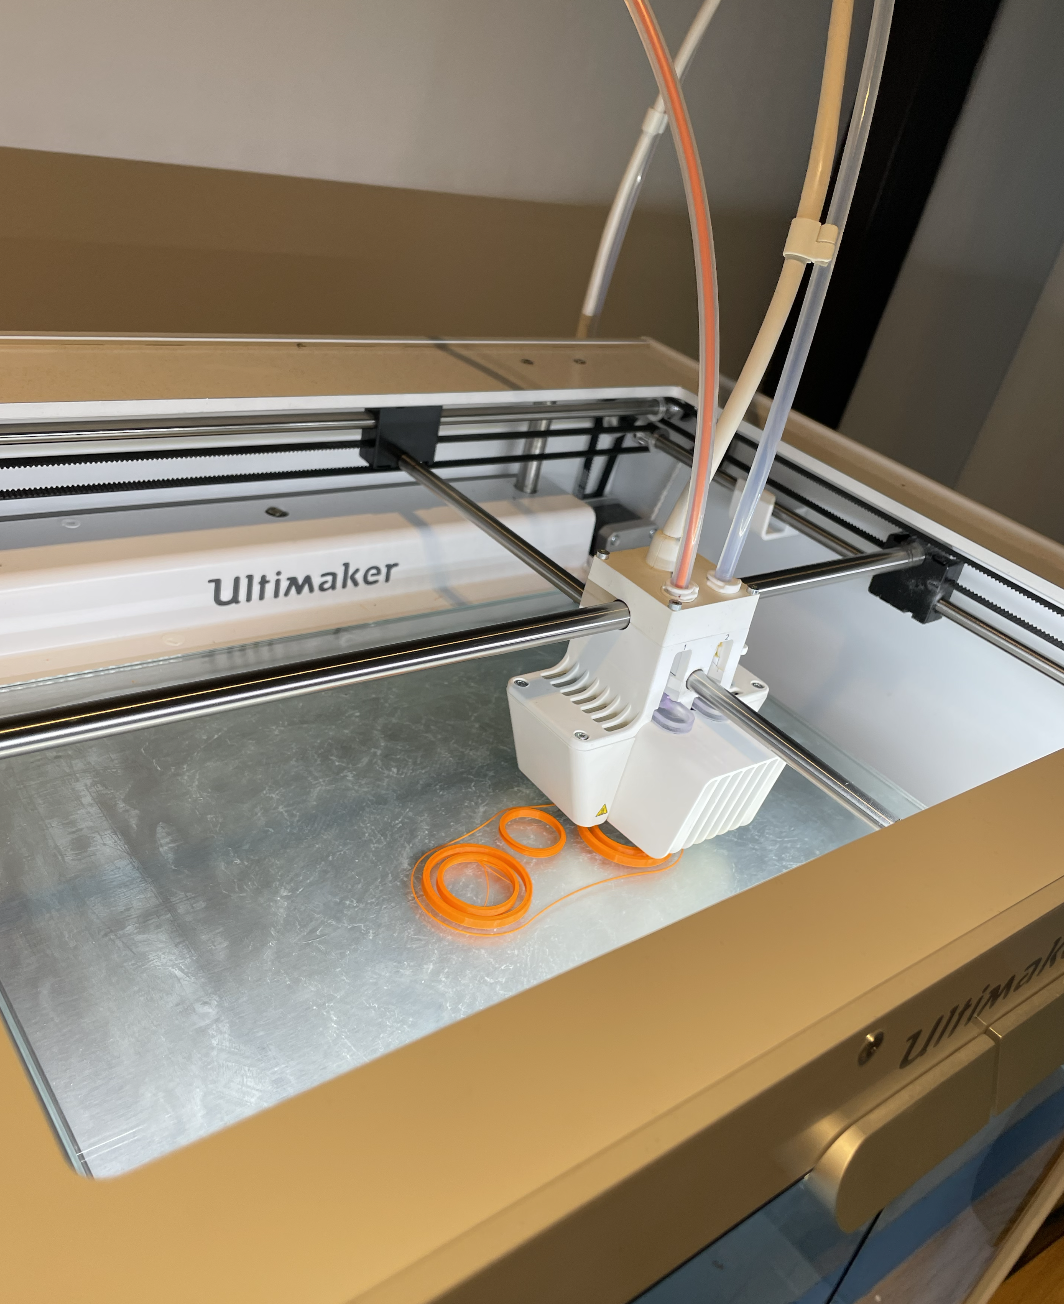
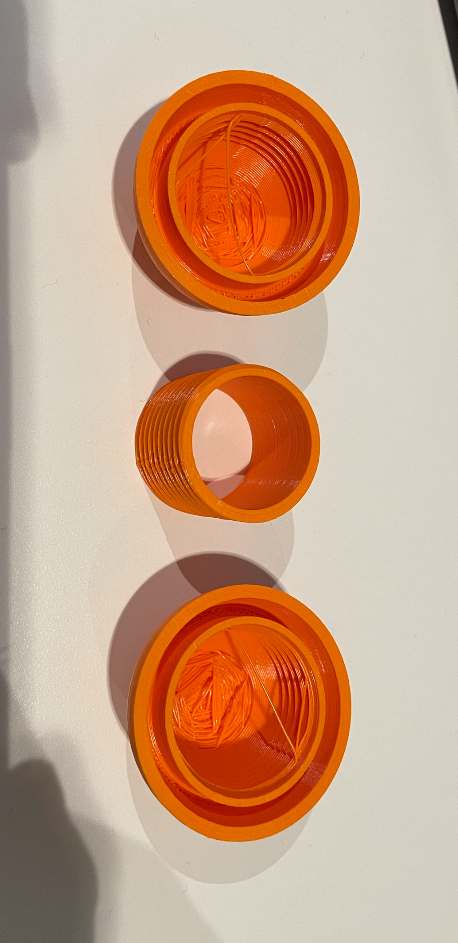
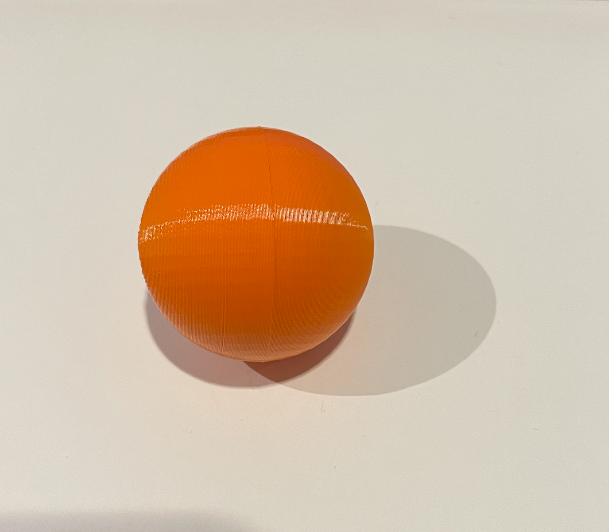
Using templates from Thingiverse the team was able to 3D print spheres that represent protons and neutrons. The sphere template is taken from the following creator: ark19 and below are image showing its printed form.
Additionally, to increase immersion, a physical button was also included in the experiences where a template from Thingiverse also was used. The button template is taken from the following creator: PredatorJr and below shows images of its stl file.

